3D effect in drawings
If you think your drawings look too dry and flat, try these tips. By using simple shading effects you can make a simple drawing look interestingly real.
Keep basic rules of light in mind. In case of any difficulty just look around different shapes around you and notice how light forms shades on any surface.
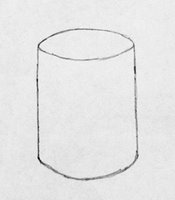
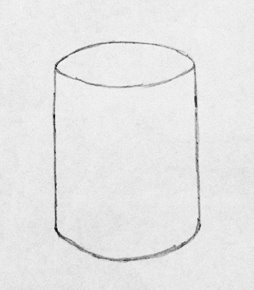
Let us take a example to cylinder. Assume light is coming from front.
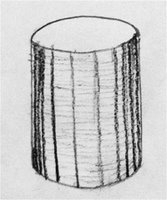
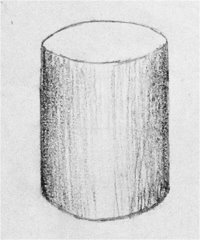
1. Parallel lines:
Draw parallel lines denser towards sides and rarer towards middle part. Use harder strokes towards the ends.


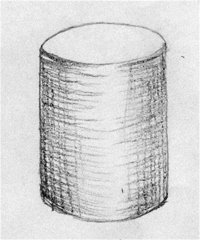
2. Hatched lines:
Draw hatched lines, while keeping in mind that one set of these lines follow the contour. Lines following the contour may be parallel but lines perpendicular to the contour should be denser towards ends and lighter towards middle.


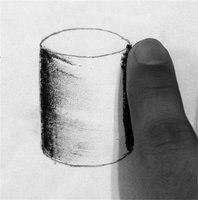
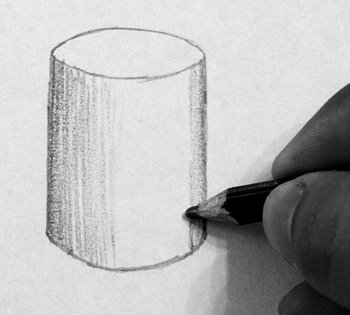
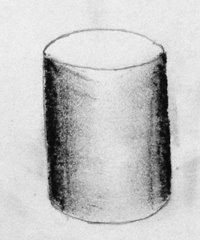
3. Smudge:
This effect is best achieved by charcoal or soft dark black pencils. Draw dark lines towards the ends such that there is extra powder is left on them. Use finger to smudge the extra powder along the contour.

4. Contour lines:
This effect is normally useful for complex curves. Draw parallel and perpendicular lines according to the surface contour. Again keep the basic rule of light in mind.

5. Shadow:

This effect is also simple and useful for defining complex curves. Imagine light coming from a side and draw shadow on the subject and below it. It helps in defining volume and size of the object.
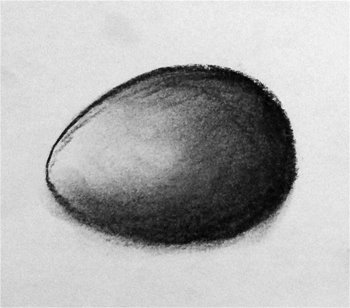
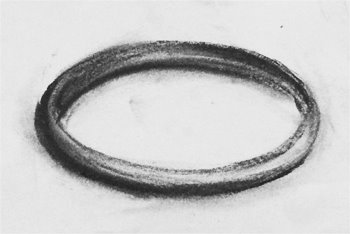
Some more quick shapes drawn with charcoal.


Keep basic rules of light in mind. In case of any difficulty just look around different shapes around you and notice how light forms shades on any surface.
Let us take a example to cylinder. Assume light is coming from front.
1. Parallel lines:
Draw parallel lines denser towards sides and rarer towards middle part. Use harder strokes towards the ends.
2. Hatched lines:
Draw hatched lines, while keeping in mind that one set of these lines follow the contour. Lines following the contour may be parallel but lines perpendicular to the contour should be denser towards ends and lighter towards middle.

3. Smudge:
This effect is best achieved by charcoal or soft dark black pencils. Draw dark lines towards the ends such that there is extra powder is left on them. Use finger to smudge the extra powder along the contour.

4. Contour lines:
This effect is normally useful for complex curves. Draw parallel and perpendicular lines according to the surface contour. Again keep the basic rule of light in mind.


5. Shadow:

This effect is also simple and useful for defining complex curves. Imagine light coming from a side and draw shadow on the subject and below it. It helps in defining volume and size of the object.
Some more quick shapes drawn with charcoal.

posted by Amit Agarwal at 12/11/2005 07:51:00 AM
![]()
![]()


0 Comments:
Post a Comment
<< Home